Phones die and trails fade. These map and compass habits keep day hikers found the old-fashioned way.
A phone is a wonderful trail companion until it is not. Batteries die, cold drains them faster than you expect, and steep terrain or dense canopy can swallow the signal for miles. The habits below are the low-tech backbone of staying found, and they keep working when the screen goes dark.
1. Orient the Map to the Terrain, Not to Your Gut
A map lying flat on a tailgate faces whatever direction you unfolded it. Orienting the map means turning the whole sheet until map north matches real north. Do that, and the ridge on your left becomes the ridge on the left edge of the paper.
The basic routine:
- Lay the compass on the map so its long edge runs parallel to the map’s north-south border.
- Turn the dial until the compass ring’s north mark agrees with map north, adjusting for local declination if your compass is not already set for it.
- Holding the map and compass together, rotate everything in one motion until the red magnetic needle covers the orienting arrow.
- Step away from metal first. Rebar in a post or a car hood can pull the needle.
Once the map is oriented, compare the features around you with what the map shows, and your location usually snaps into focus. That single habit resolves most of the which-fork-is-which moments that end in a wrong turn.
2. Take a Bearing at Every Decision Point
A bearing is a direction written as a number of degrees. Compass dials divide a full circle into 360 degrees, with north at 0 or 360, east at 90, south at 180 and west at 270. Setting a bearing between two points on the map takes about a minute:
- Draw a line on the map connecting where you are to where you are going.
- Lay the compass baseplate along that line, direction-of-travel arrow pointing at your destination.
- Rotate the dial until the ring’s north mark agrees with map north, holding the compass still.
- Lift the compass, point the arrow away from you, and turn your body until the red needle covers the orienting arrow.
- Sight a landmark along that line and walk to it, then repeat until you arrive.
One wrinkle trips up nearly every beginner: declination. The needle points to magnetic north while the map is drawn to true north, and the difference is measured in degrees and direction. Every USGS topographic map prints a diagram at the bottom showing true north, grid north and magnetic north with the local numbers. Declination drifts over time, so use a current figure. If your printed map is more than 15 years old, look up a fresh value before you go.
Camp tip
If your compass has an adjustable declination screw, set it once for the region and the add-or-subtract math disappears from every bearing. Reset it when you travel to a new area.
3. Keep a Landmark and Time Log as You Walk
Topographic maps do two useful things: they show the shape of the land, and they locate features such as waterways, woodlands, buildings and bridges. Those features are your checkpoints. A creek that joins the trail from the left, a saddle between two humps, a spur heading downhill, each one confirms you are where the map says you are.
Note the time and the feature at every junction and crossing. A pocket notebook works, but a mental log is fine for most day hikes. The payoff comes on the return trip, when the log becomes a timetable: the bridge took 40 minutes going out, so if you reach it in an hour and ten, something is off.
Hikers who cannot name the last feature they positively identified are the ones who wander. Hikers who can simply walk back to it.
4. Use Handrails, Backstops and Catch Features
These three terms describe ways to let the terrain navigate for you.
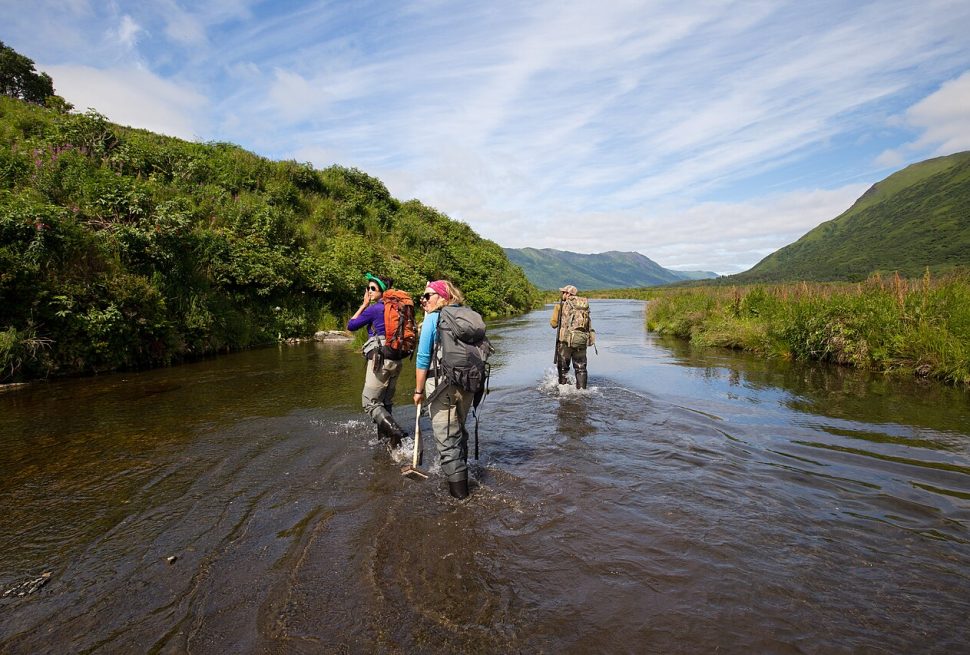
A handrail is a linear feature you travel alongside, like a stream, a ridgeline or a lake shore. Follow it and you cannot stray far from your line, no matter how faint the trail gets. If your handrail is a creek you will need to cross, scout the crossing before you commit, since moving water deserves more care than the map suggests. Our guide to mistakes to avoid when crossing streams covers the details.
A backstop is an unmistakable feature past your turnoff that tells you that you have gone too far. A lake at the head of a valley or a paved road makes a good one, because you cannot walk past it without noticing.
A catch feature is a bigger boundary, like a major river or a highway crossing the map, that tells you to stop and reassess rather than press on. Pick these features off the map before you leave the trailhead, and you will have built-in alarms all day.
5. Watch for the Signs You’ve Drifted
Rarely does a hiker go from found to lost in one step. Drifting announces itself first:
- The slope feels steeper or flatter than the contour lines promised.
- A stream appears on the wrong side, or fails to appear when the map says it should.
- Junctions arrive early or late compared with your landmark log.
- The trail narrows to a game path, then to nothing at all.
When two or three of those stack up, stop walking. Orient the map again and match it to the last feature you can confirm. Walking back to that point beats guessing forward, because every step in the wrong direction lengthens the search. Weather deserves the same honesty. If clouds are building while you are sorting out your location, getting to lower ground takes priority over resolving the mystery, a point our article on thunderstorms, lightning and flash floods explains in detail.
6. Practice Near Home Before It Matters
Navigation skills decay when they live only in the back of a pack. The fix is to run the whole routine on trails you already know, where a mistake costs nothing.
Start with maps, which cost nothing either. The USGS offers free topographic maps for download and printing, including the familiar 1:24,000-scale quads, on which one inch on the map equals 2,000 feet on the ground. That scale shows enough detail to pick out the small features your landmark log depends on. The USGS topoView tool serves both current and historical maps, handy for spotting old roads and renamed features. Many parks post printable maps on their own sites and suggest printing one before you arrive.
Match the map to the trip. Park day-hike maps are often intended for short, marked routes only, and Shenandoah, for one, recommends buying a full topographic map for anything longer. Our guide to finding new hiking trails near you can point you toward fresh ground to practice on.
On a familiar trail, orient the map at the trailhead, take a bearing between two junctions, keep a landmark and time log, and check it against reality at the end. Twenty minutes of practice on a trail you cannot get lost on is what makes the routine automatic on the day the phone is dead.
- Making Stream and Lake Water Safe to Drink at Camp: Useful when your landmark log includes a refill spot.
- Choosing and Setting Up a Campsite: If a navigation lesson turns into an unplanned overnight, start here.
Camp notes
- Orienting your printed map to the terrain with a compass turns a confusing trail junction into a simple matching exercise.
- A bearing is a direction measured in degrees from 0 to 360, and taking one at each junction keeps you honest on faint trails.
- Magnetic declination is the angle between true north and magnetic north, and it changes over time, so look up a current figure rather than trusting an old map.
- Handrails, backstops and catch features give you built-in alarms that tell you when you have passed your turnoff or wandered off route.
- Free USGS topographic maps at 1:24,000 scale show the terrain detail you need to practice these skills on trails near home.
Questions campers ask
Do I still need a map and compass if my phone has offline maps?
Batteries die, cell coverage drops and even satellite service can be unreliable. A paper map and a small compass weigh a few ounces and never run out of power.
What is magnetic declination?
It is the number of degrees and the direction between true north and magnetic north at your location. USGS maps print a diagram at the bottom showing the local value, and it drifts over time.
Where can I get free topographic maps?
The USGS offers free downloadable topographic maps, and its topoView tool includes both current and historical maps. Many national parks also post printable maps on their own websites.
Do I need a topographic map for a simple day hike?
For well-established paths in a park, a basic trail map is often enough. If you plan to leave maintained trails or hike longer routes, a topographic map is the better tool.
Rules, fire restrictions and closures differ by park, forest and district and can change quickly. Check with the land manager before your trip. This guide is general information, not professional safety advice.